
Step 3: Prepare the Strawberry Layer
In another bowl, combine the strawberries with sugar and lemon juice. Toss gently to coat, then pour the strawberries evenly over the cheesecake layer. The juices from the strawberries will soak slightly into the cheesecake, creating a beautiful, fruity swirl.
Step 4: Add the Cake Layer
Sprinkle the dry cake mix evenly over the strawberries. Do not mix—this is a true “dump” cake! Drizzle the melted butter evenly over the top. The butter helps the cake mix bake into a golden, slightly crispy top while the inside remains soft and moist.
Step 5: Bake to Perfection
Place the dish in the oven and bake for 45–50 minutes. You’ll know it’s done when the top is golden brown and bubbly. The edges will slightly caramelize, giving it a delightful crunch that contrasts with the creamy cheesecake and juicy strawberries.
Step 6: Cool and Serve
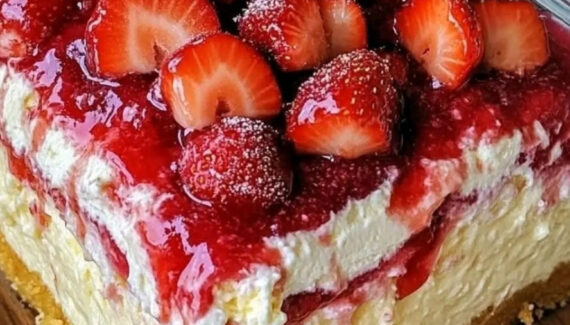
Allow the cake to cool for at least 15–20 minutes before serving. This helps the layers set slightly. You can serve it warm or at room temperature, topped with a dollop of whipped cream or a dusting of powdered sugar for extra indulgence.
Tips for Success:
- Frozen strawberries work just fine, but if using fresh, choose ripe, juicy berries for maximum flavor.
- Don’t stir after adding the cake mix and butter—the “dump” method is what creates the perfect layered effect.
- Adjust sweetness based on your taste. Some strawberries are naturally sweeter, so you may reduce the sugar slightly.
- Make ahead: This cake can be baked a day in advance and tastes even better as the flavors meld overnight.
Why You’ll Love It
This Strawberry Cheesecake Dump Cake is the perfect balance of creamy, fruity, and sweet. It’s a dessert that looks impressive but doesn’t require hours in the kitchen. The best part? You can experiment with other fruits—blueberries, raspberries, or peaches all make delicious variations.
Whether it’s for a weeknight treat, a potluck, or a holiday gathering, this dump cake is guaranteed to delight everyone who tries it.


No Responses Yet