How to Make Traditional Bread
Step 1: Activate the Yeast
In a small bowl, mix the warm water and sugar, then sprinkle the yeast over the top. Let it sit for 5–10 minutes until it becomes frothy. This step ensures your yeast is alive and ready to work its magic.
Step 2: Mix the Dough
In a large mixing bowl, combine the flour and salt. Create a well in the center and pour in the yeast mixture and olive oil (if using). Stir until a shaggy dough forms.
Step 3: Knead the Dough
Turn the dough out onto a lightly floured surface. Knead it by hand for about 8–10 minutes, or until it’s smooth, elastic, and slightly tacky to the touch. Alternatively, you can use a stand mixer with a dough hook for about 5 minutes.
Step 4: Let It Rise
Place the dough in a lightly greased bowl, cover it with a clean kitchen towel, and let it rise in a warm spot for 1–2 hours, or until it doubles in size.
Step 5: Shape the Dough
Once risen, punch down the dough to release the air. Shape it into a loaf or your desired form, then place it on a baking sheet or in a greased loaf pan.
Step 6: Second Rise
Cover the dough again and let it rise for another 30–45 minutes. This step ensures a fluffy, airy loaf.
Step 7: Bake
Preheat your oven to 375°F (190°C). Bake the bread for 25–30 minutes, or until the top is golden brown and it sounds hollow when tapped on the bottom.
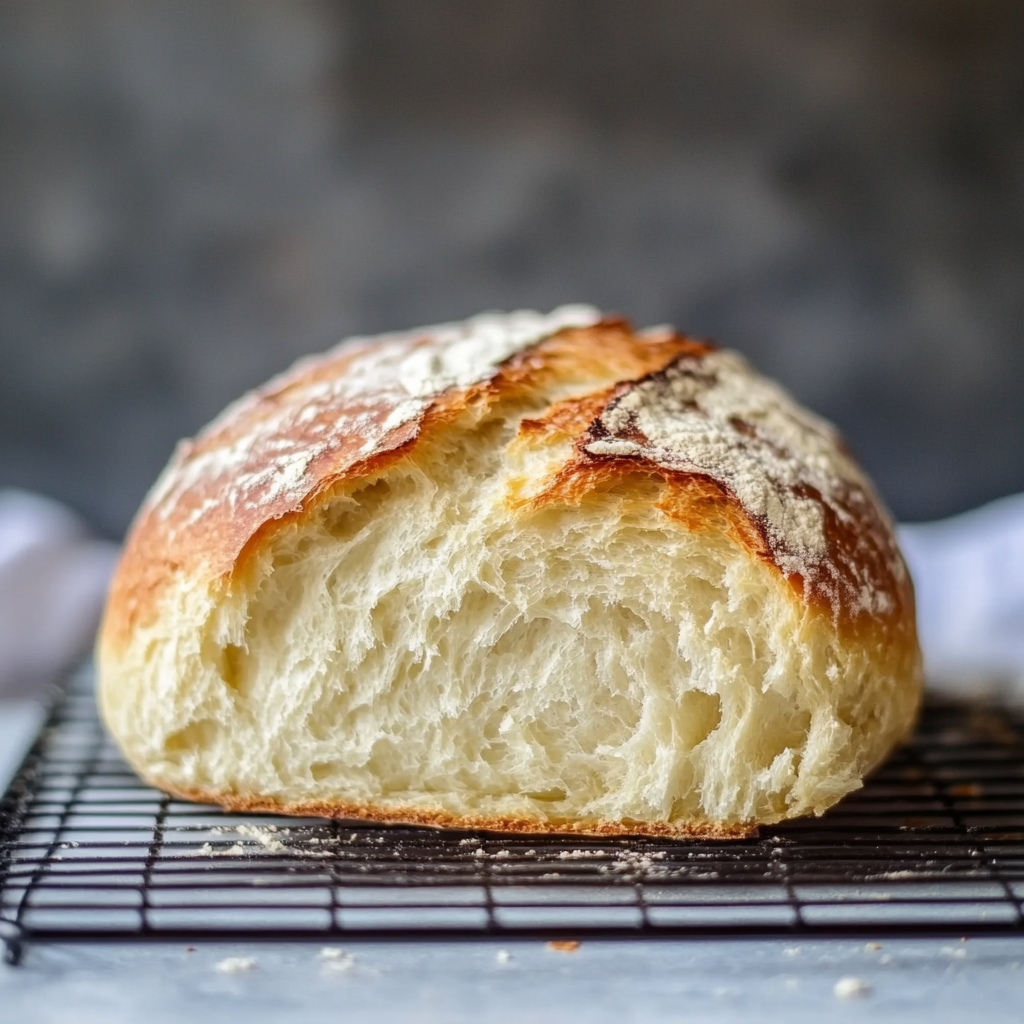
Step 8: Cool and Enjoy
Allow the bread to cool on a wire rack before slicing. This helps the crumb set properly.
Tips for Success
- Room Temperature Ingredients: Ensure all ingredients, except water, are at room temperature to avoid shocking the yeast.
- Flour Substitutions: Experiment with whole wheat or rye flour for a heartier loaf.
- Steam for Crusty Bread: Place a small pan of water in the oven while baking to create steam for a crackly crust.
- Storing Bread: Wrap in a clean cloth or store in an airtight container to keep it fresh.


No Responses Yet